How Arduino Uno Works and How its Principles and Role. Regarding how Arduino Uno works, I think this is something that is quite important for beginners who want to learn Arduino. The reason is, understanding how Arduino works can help you in analyzing and designing systems. How can you design an Arduino project if you don’t know how it works? It’s weird.
The working principle of Arduino Arduino is like a brain in a circuit. Arduino is in charge of processing information and controlling the performance of components connected to the circuit. Be it input or output components.
Why Arduino Can Control Other Components?
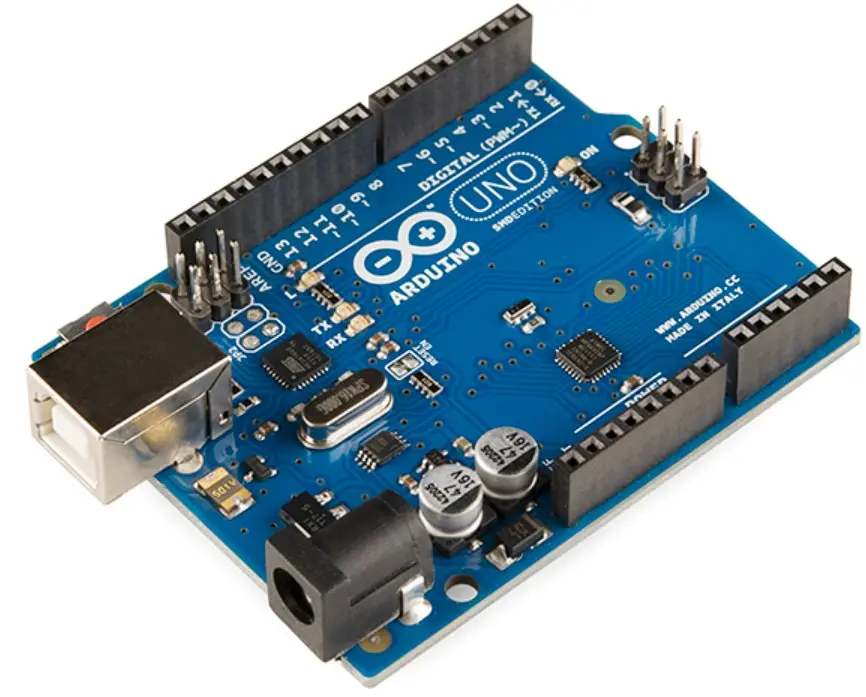
Basically, Arduino is an electronic instrument board that can function as a controller for electronic components because it contains a microcontroller chip.
The chip consists of a processor, memory, Arduino input output device, and several additional supporting components.
For some types of Arduino, most use the Atmega328 series microcontroller chip. While other types use various microcontroller series.
The role of the microcontroller on Arduino is very important because it helps the process of automating commands based on program instructions.
So it is very suitable for the process of making automatic system projects, monitoring, and control systems.
If you are curious about microcontroller chips, you can find them on several electronic devices such as computers, smartphones, and robots.
How does Arduino work?
In simple terms, we can describe the working principle of Arduino as below.

Approximately the workflow is like this:
Data read by input components > data sent to input pins > data enters microcontroller > data processed > data exits Arduino > data sent to output pins > data passed to output components.
Based on the picture and information above, we can conclude that how Arduino works is:
Step 1: Data reading by input components
The first thing that happens is that the input component connected to the Arduino will read or measure the data that triggers it.
For example in the form of distance, light, vibration, or sound.
What are the input components? These are all components that can take measurements or read data.
This includes all types of sensors. Whether it’s a distance sensor, light, or something else.
Step 2: Data sent to Arduino input pins
Input pins are intermediaries that connect between Arduino and input components.
So, the data obtained from measuring and reading input components will be sent to the Arduino input pins.
Step 3: Data enters the microcontroller (Arduino core)
Later, the data on the Arduino input pin will be taken to the microcontroller or Arduino core to enter the next stage. Namely the data processing stage.
The data that enters the microcontroller will be processed based on the command or program given. In this stage, instructions are also given as to what commands the output device will carry out later.
Read: Arduino Function, Features, and its Application in daily life
To give commands to the Arduino microcontroller, use the C programming language and through the Arduino IDE software.
Step 4: Data sent to Arduino output pins
After the data is processed, then the data will be sent to the Arduino output pin.
Like the input pin, the Arduino output pin also acts as an intermediary that connects between the Arduino and the output device.
You need to know that the average Arduino has 14 pins that can be used as input pins and output pins.
Step 5: Data is transmitted to the output component
The data on the Arduino output pin will then be channeled to the output component.
So, all instructions given by the microcontroller will be directly executed by output components such as relays, LED lights, buzzers, and so on.
Examples of How Arduino Works in Circuits
Example 1: Application of Arduino to sound a buzzer using a motion sensor
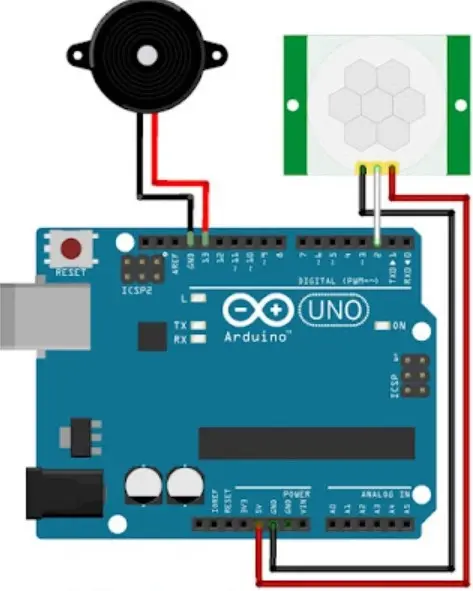
In the picture above, we can see that the role of Arduino in the circuit is as an intermediary between the motion sensor and the buzzer.
The motion sensor acts as an input component and the buzzer as an output component.
Pin 2 is referred to as the input pin because it connects between the Arduino and the input component (motion sensor).
While pin 13 is referred to as the output pin because it connects between the Arduino and the output component (buzzer).
The command given is that the buzzer will sound when the motion sensor detects movement.
Example 2: Application of arduino in blinking LED light with sound sensor

Almost the same as the previous example, the role of Arduino here is to connect the input device (sound sensor) and the output device (LED lamp). The input pin is pin 7 and the output pin is pin 11.
In this context, Arduino is given a slightly varied command. So, when the sound sensor detects the first sound, the LED light will blink.
And for the second detection the light will flash twice. And so on until the tenth detection.
So it can be concluded that Arduino does not only act as an intermediary.
But rather a component that decides what kind of output it wants to give based on the program it has received.
Closing
Approximately like this is an explanation of how Arduino works. I hope, the explanation above can be easy for friends to understand.


